Get in touch
555-555-5555
mymail@mailservice.com


Installation Instructions
Important Technical Notes
CatScapes Cat Shelves are not intended to be arranged as solitary horizontal shelves. If positioning the shelves horizontally without any angles, the brackets are best installed directly onto studs.
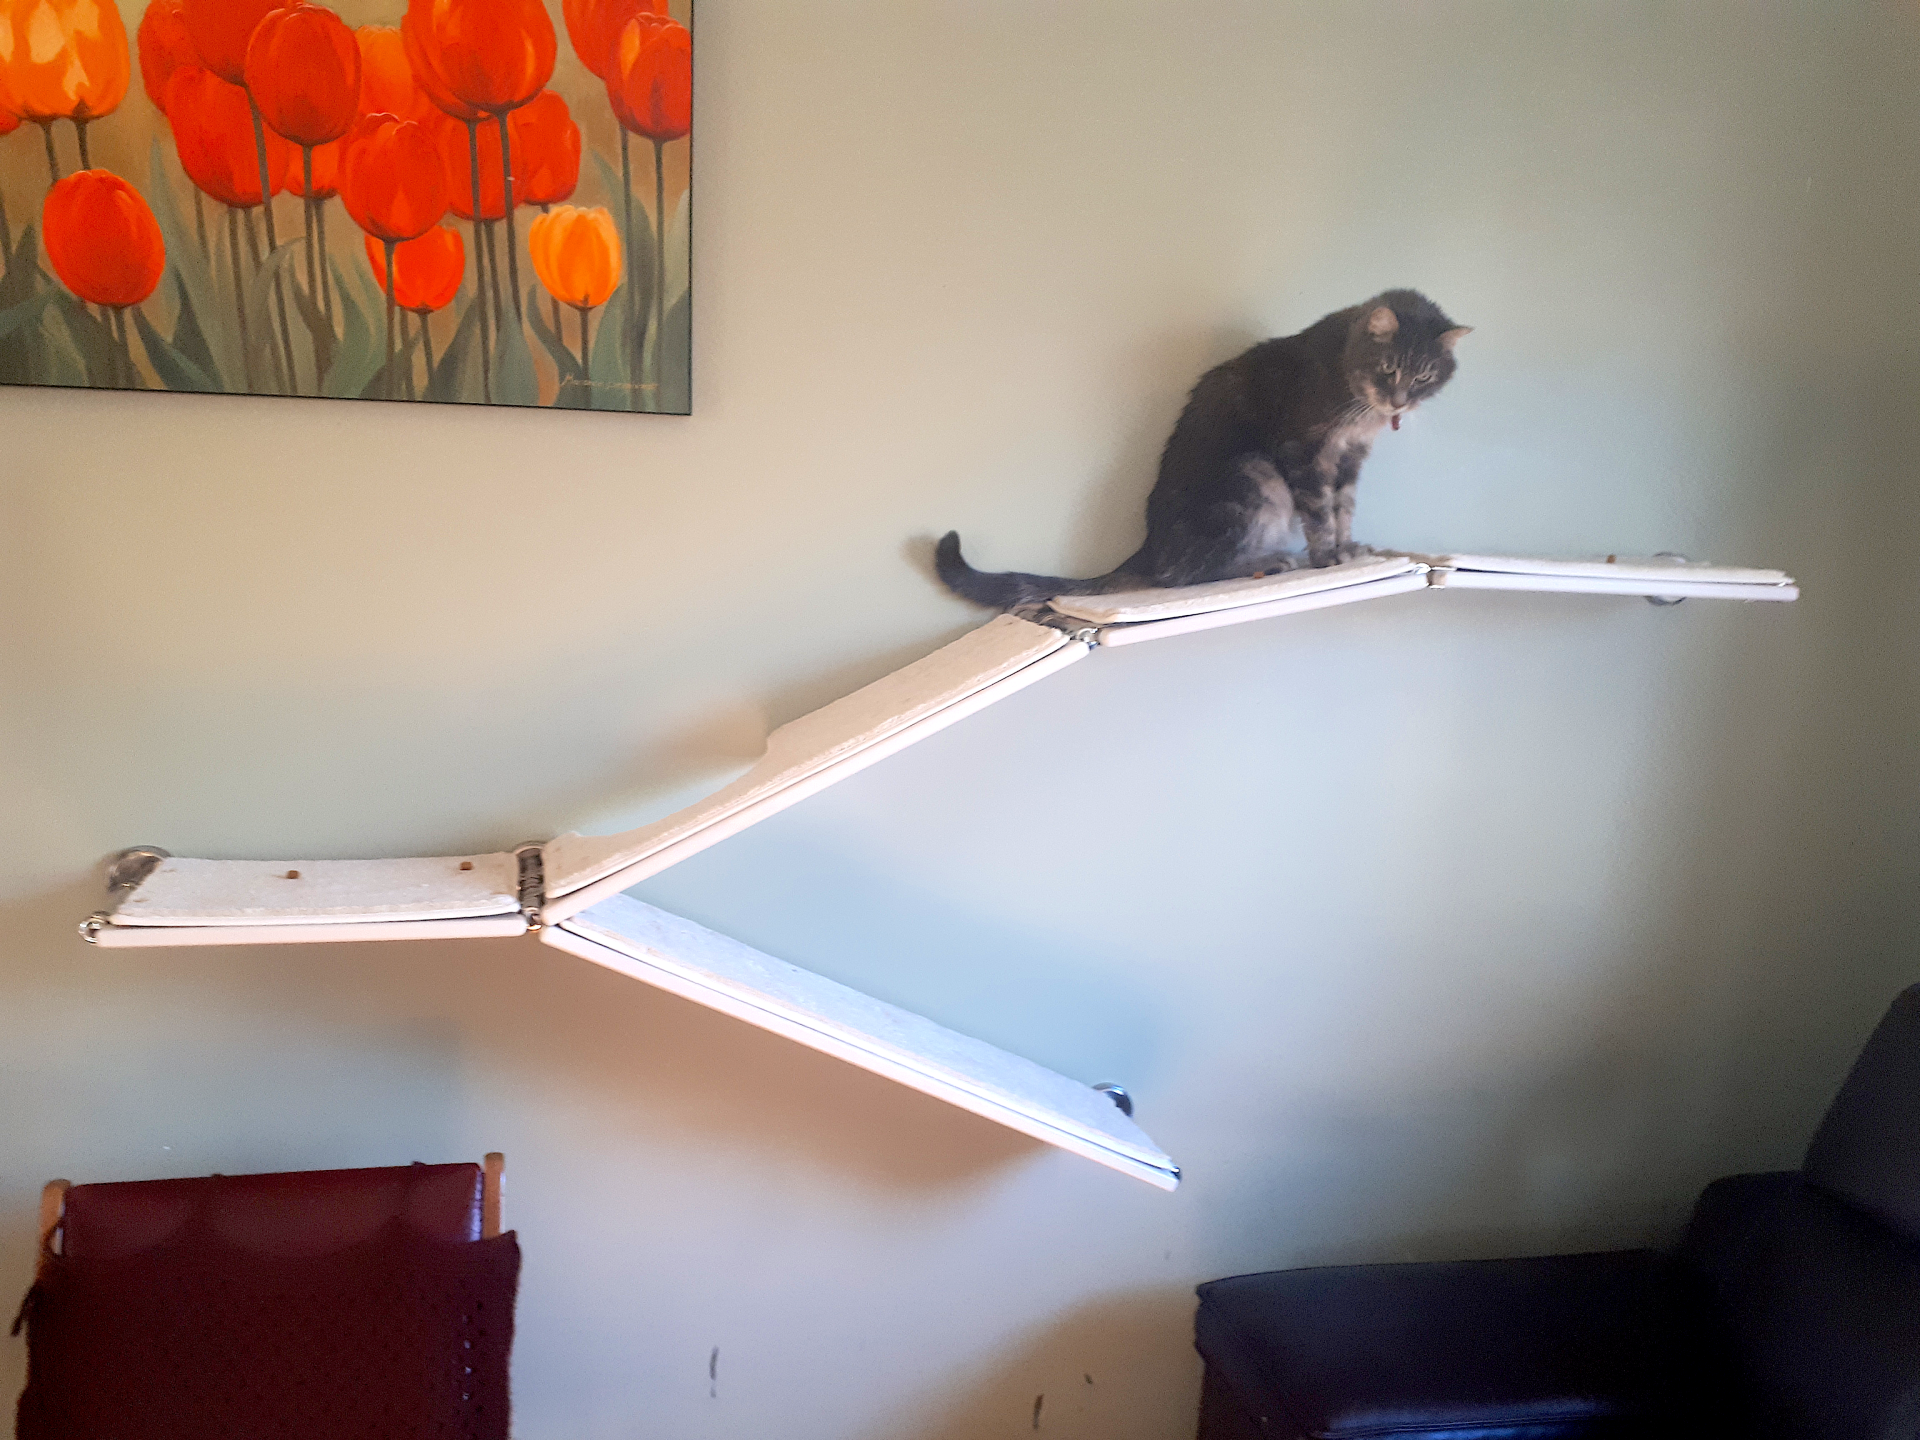
The weight limit and the stability of a given shelf and configuration is substantially increased by installing brackets onto studs and by interconnecting shelves at angles. Arranged this way, the shelves themselves function like gigantic L-brackets.
The brackets come with wall anchors, but toggle bolts and other wall anchor types might work better for different walls.
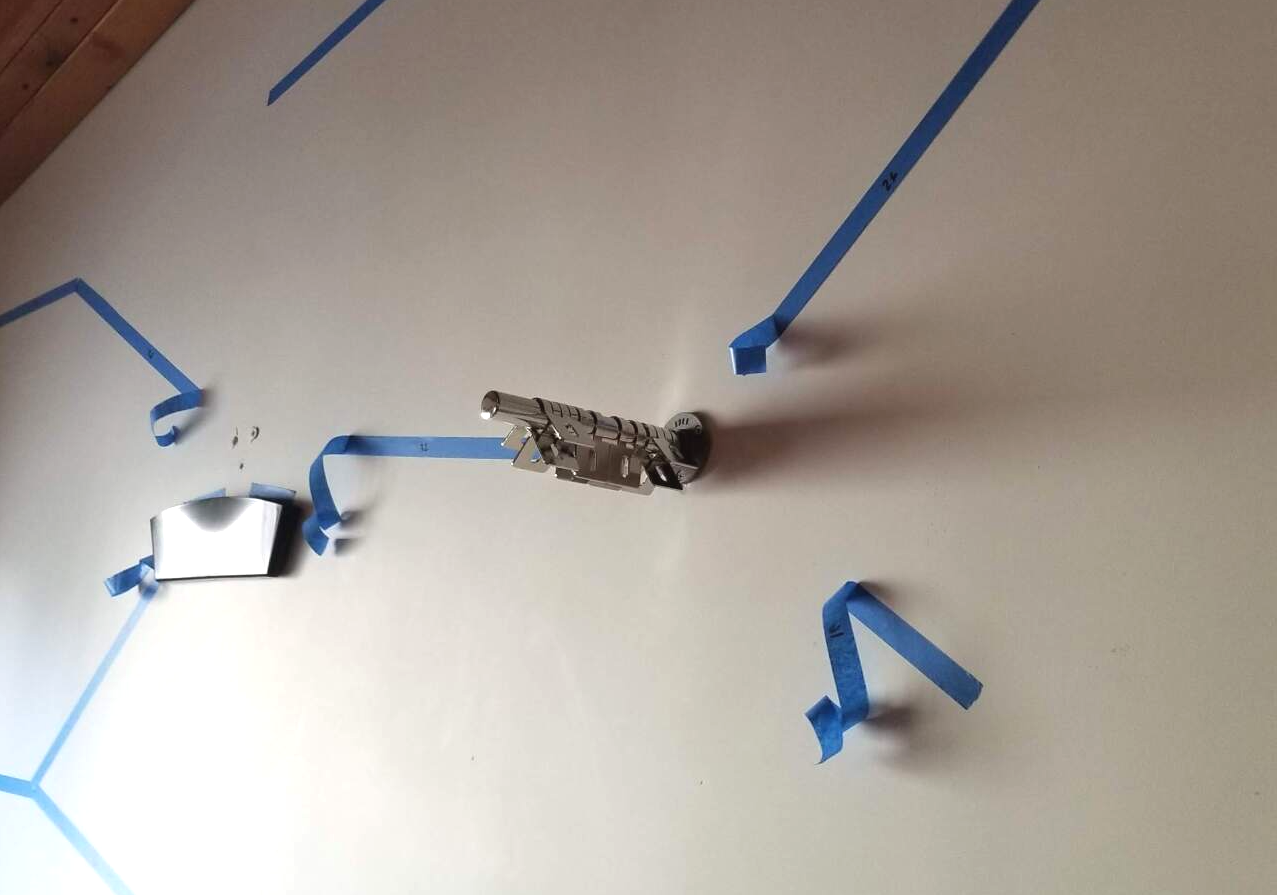
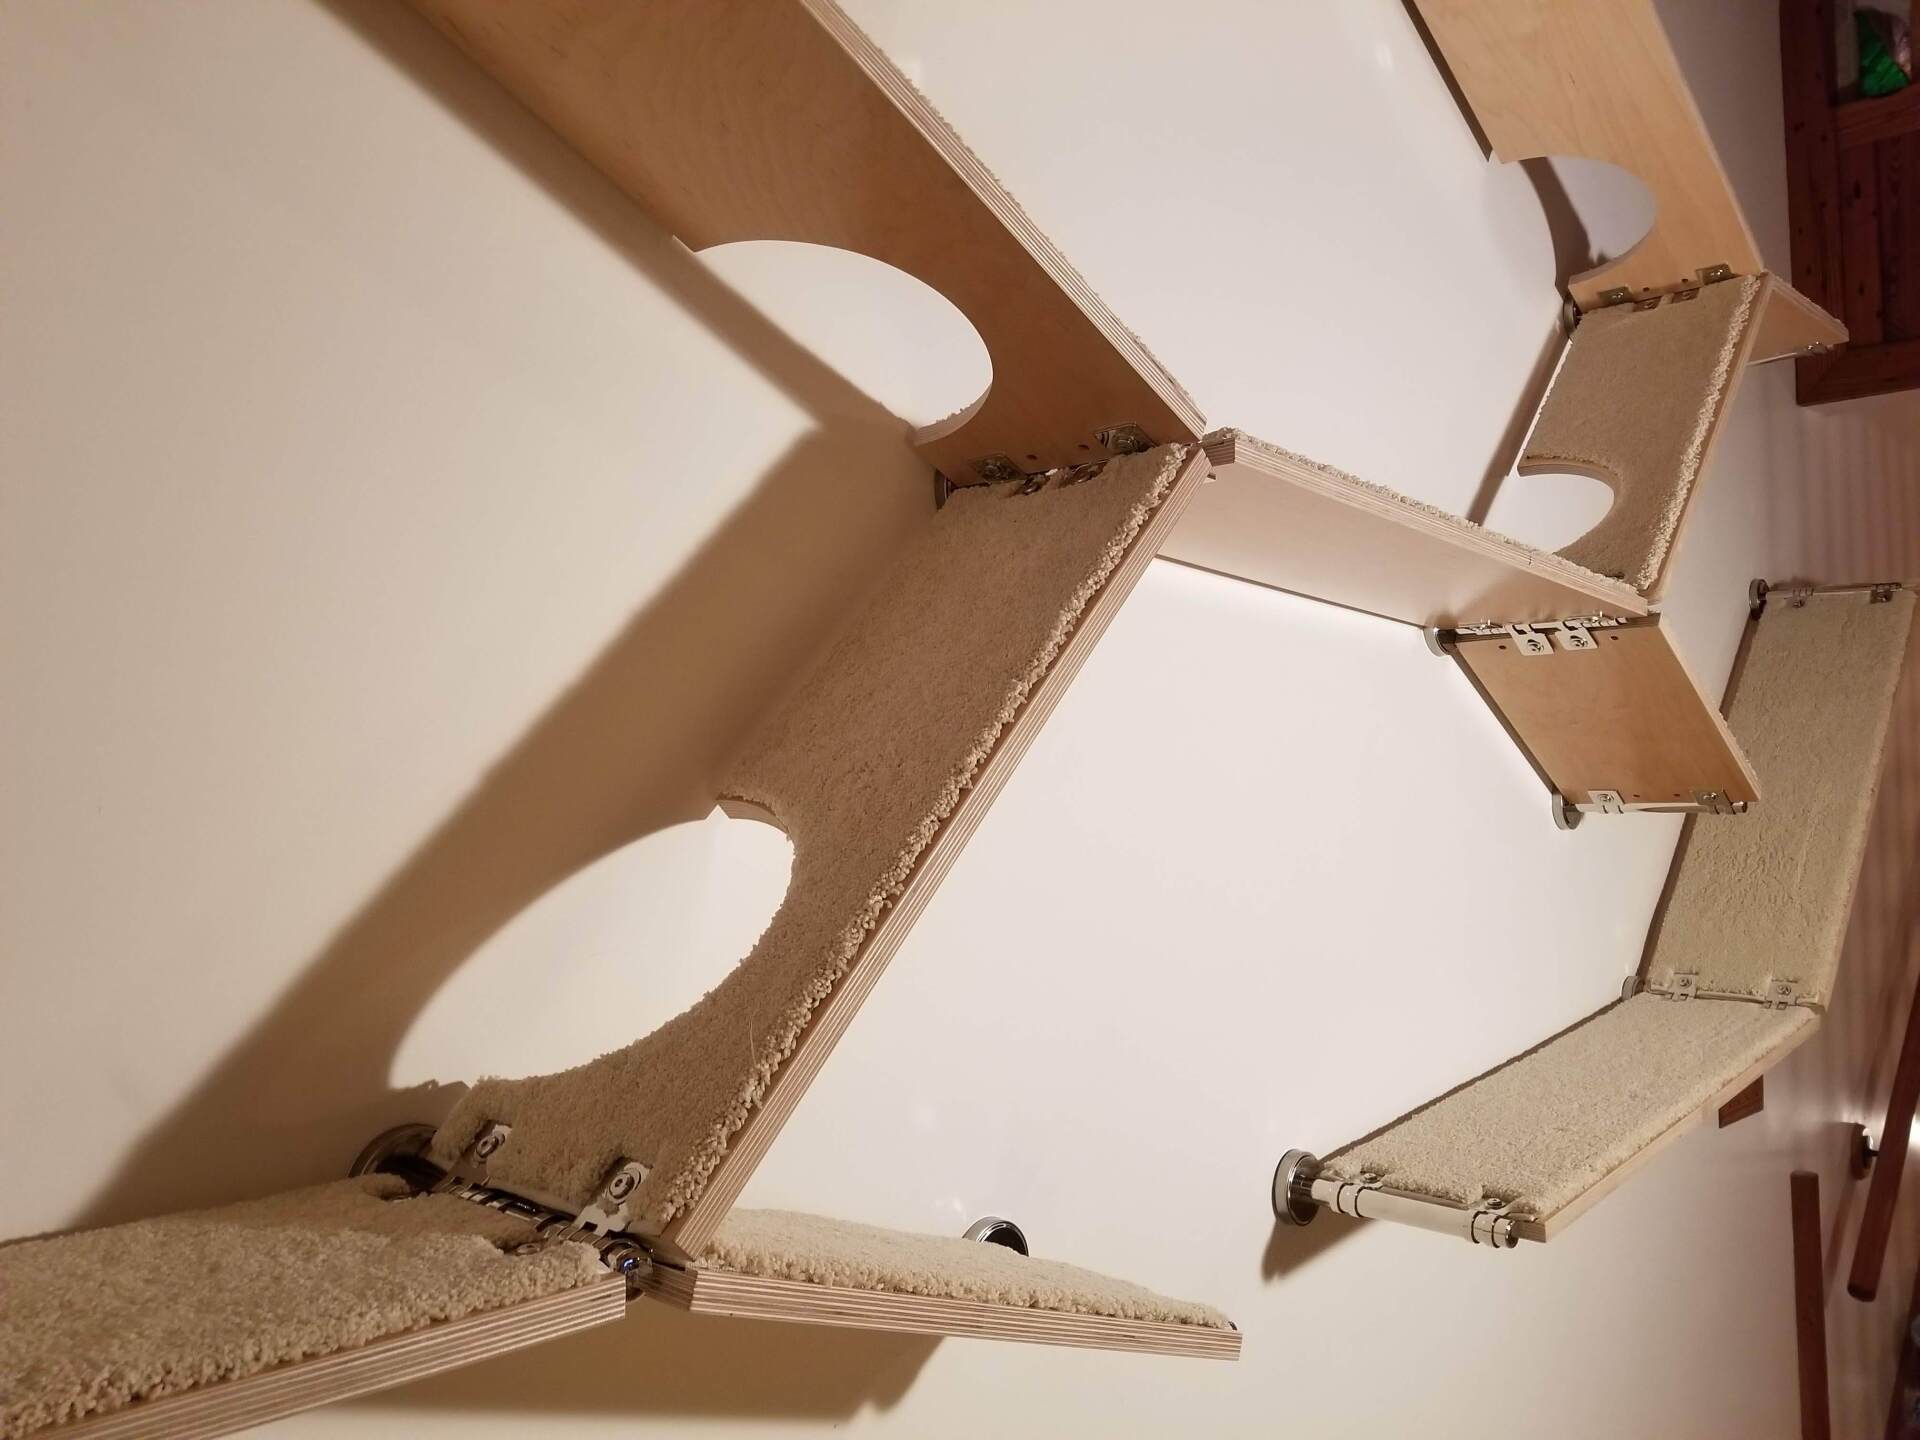
~90° is the most acute angle achievable when the U-clips are interlaced (see step 5 below). However, when the U-clips are not interlaced, angles closer to 60° can be achieved. The flanges can be tucked behind the back edge of a shelf to achieve virtually any desired angle.
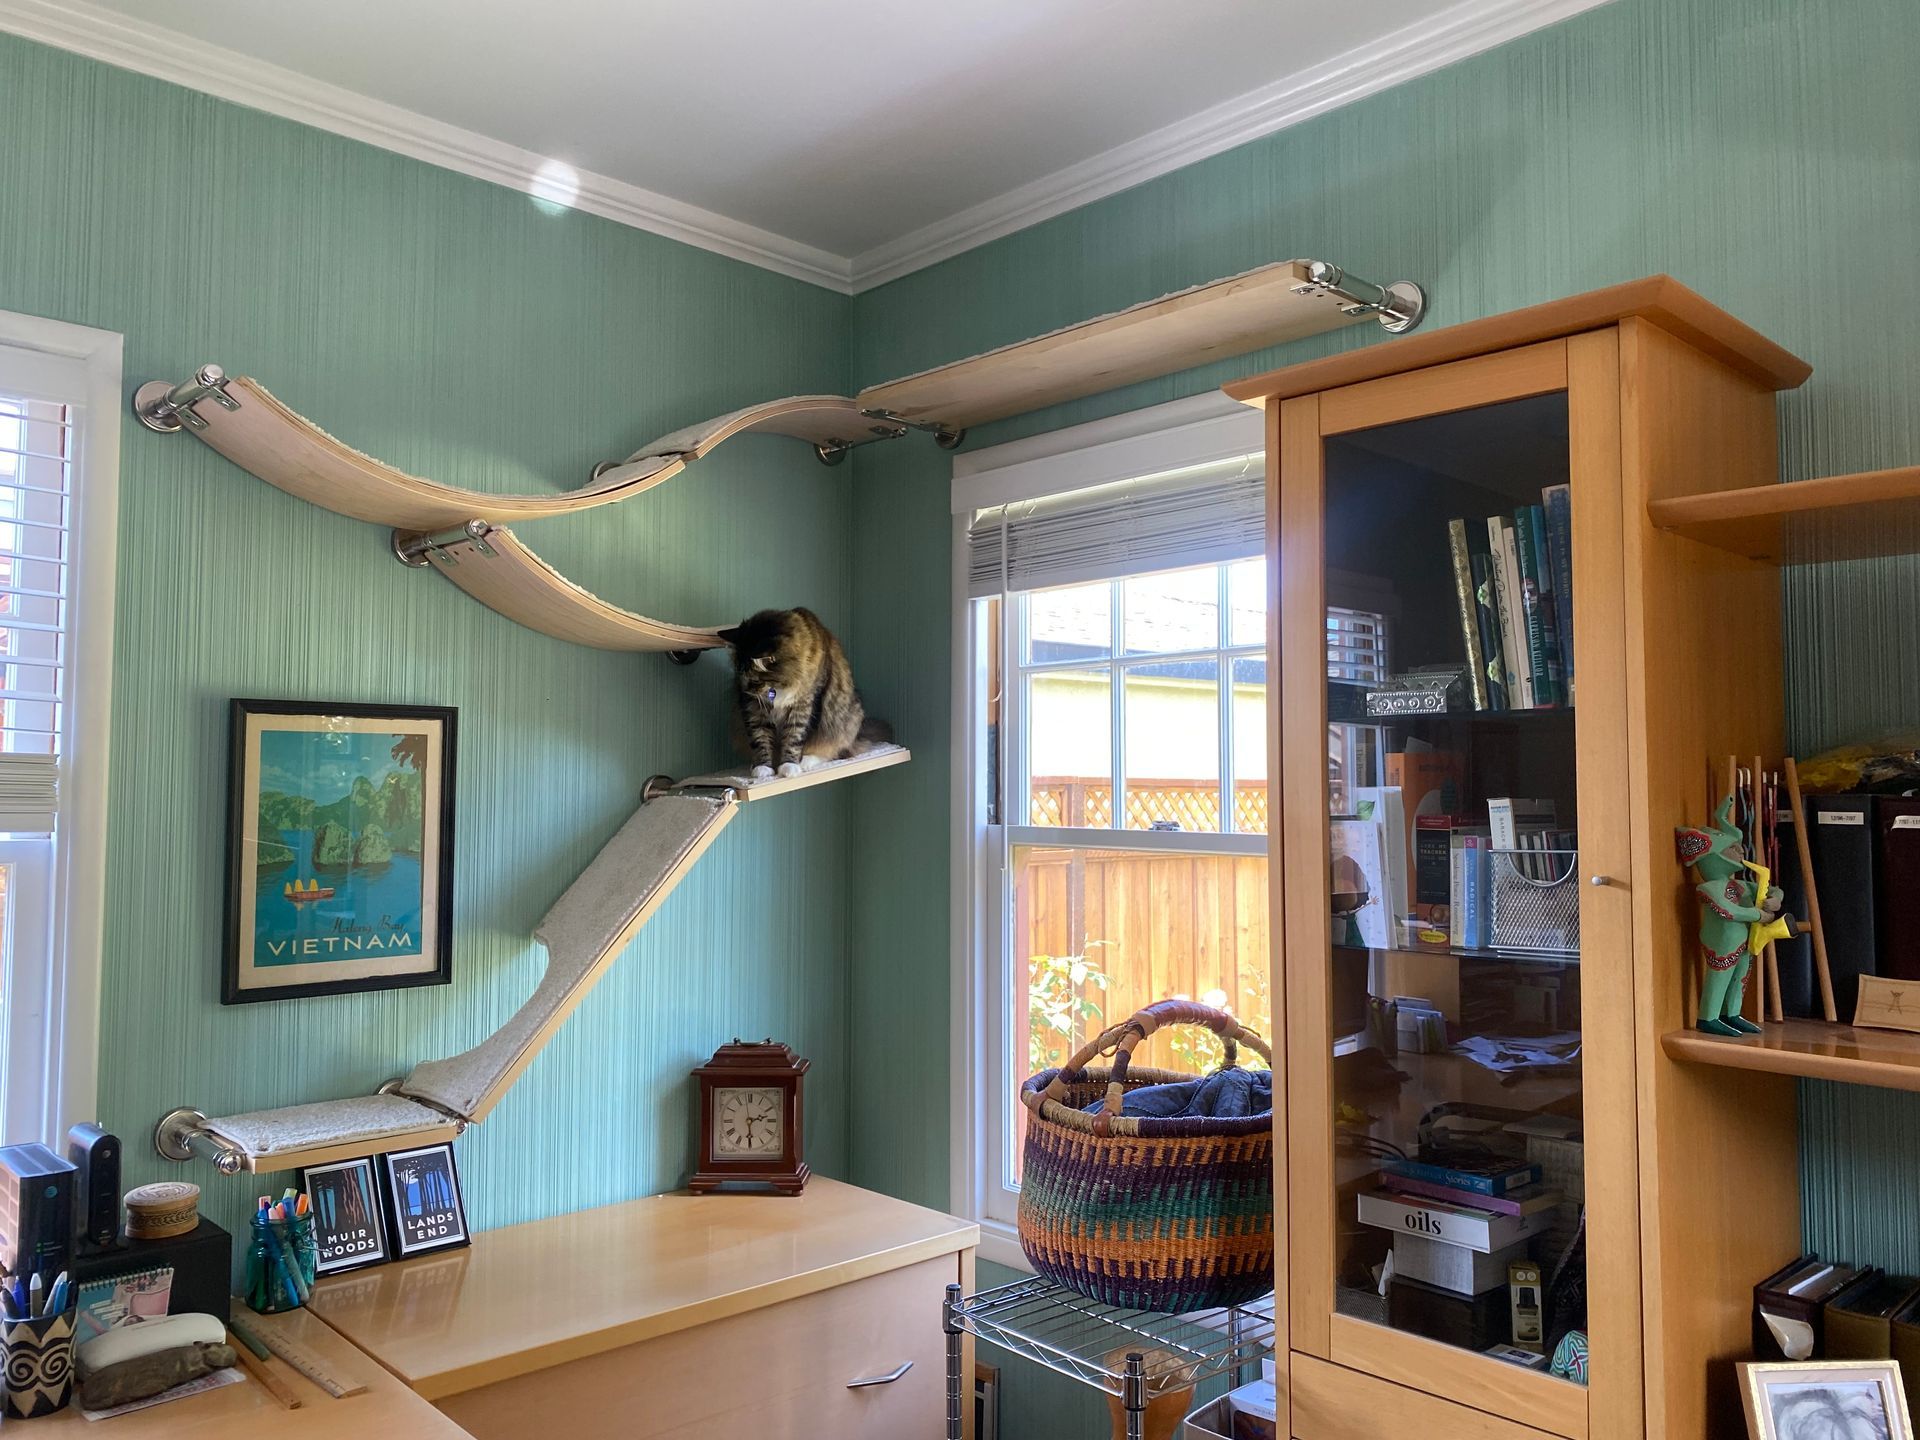
The concave side of the curved shelves can be positioned even more tightly while the convex side requires more relaxed angles in order not to collide.
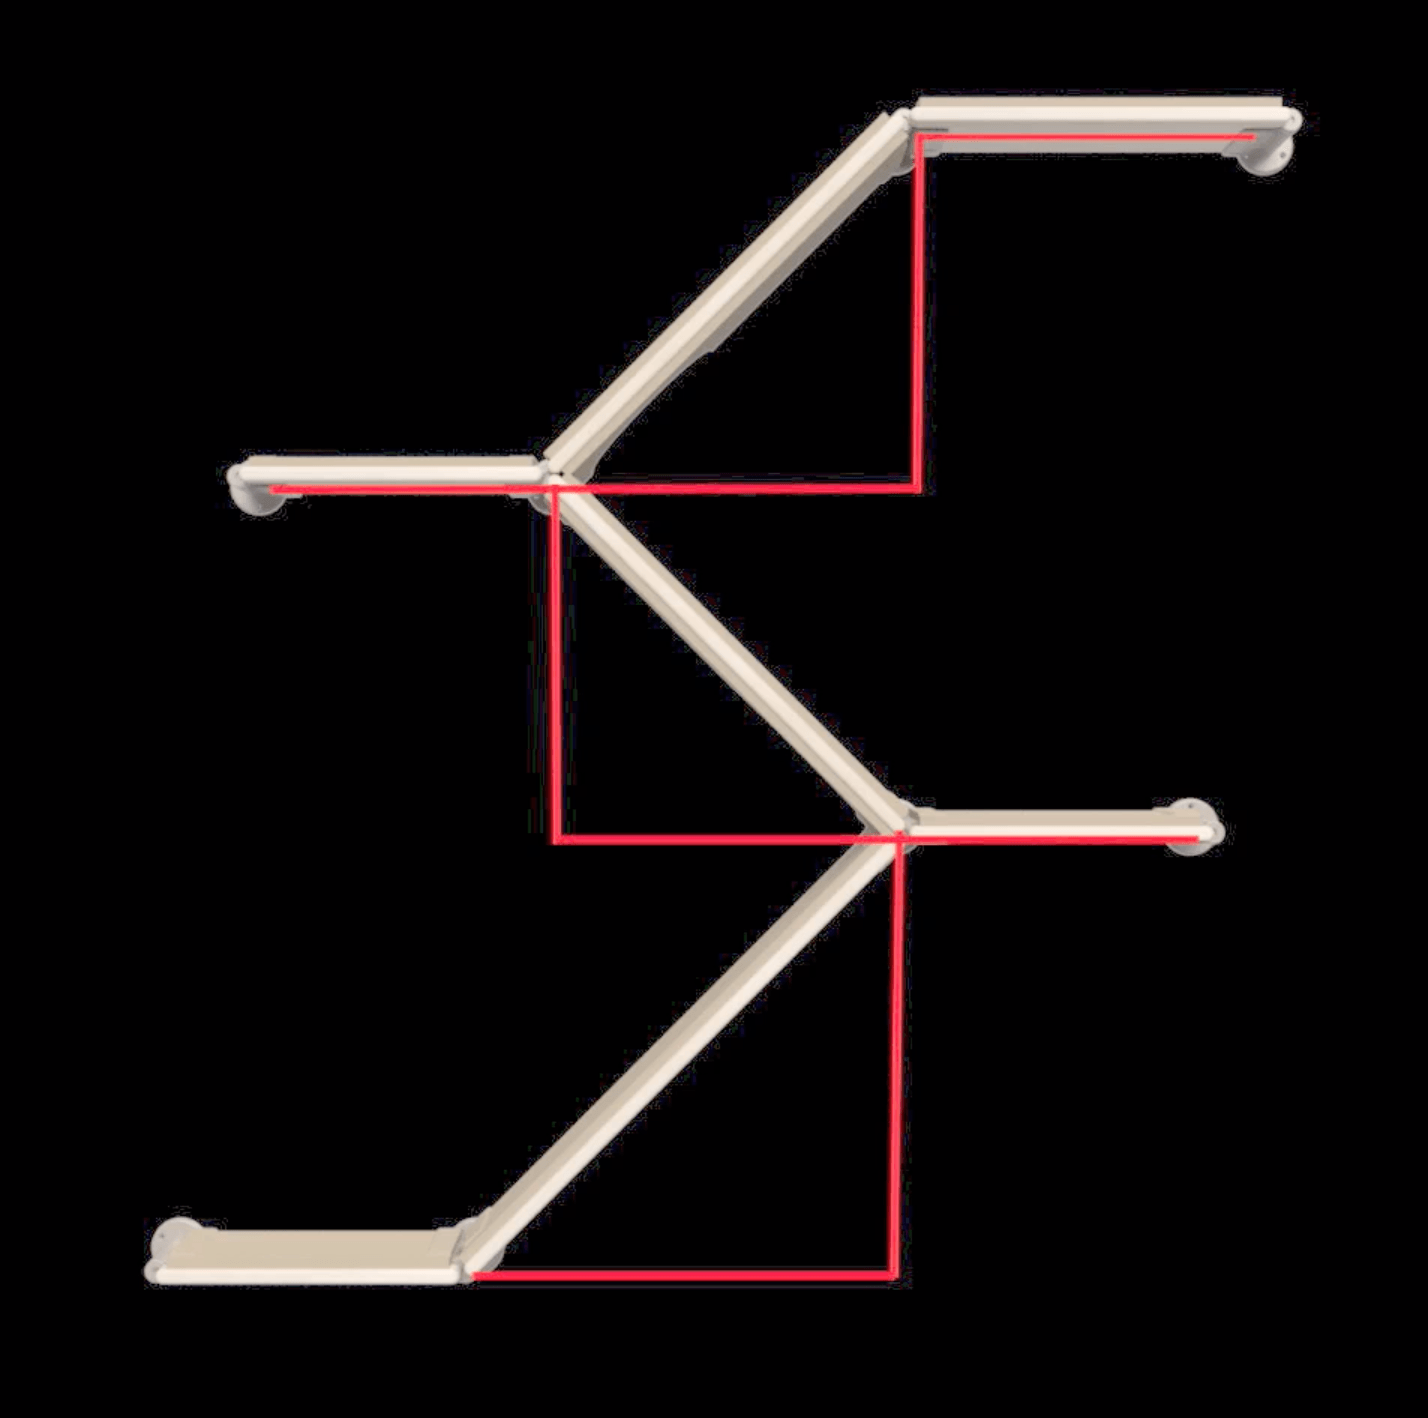
The shelf lengths (12", 16", 20", 26", 32", and 36") all refer to the distance from the center of the bracket to the center of the next bracket.
PLACING AND INSTALLING THE FIRST BRACKET
Step 1:
After determining your catscape layout, choose the bracket you want to start with.
Start at a hub if there is some flexibility about where the ends of the configuration will be positioned.
Start with an end bracket if there is a precise starting/ending point for the configuration, based on a room corner you want to start from or a stud you want to install onto.
Always leave at least 1.5-inches from corners and molding, etc. to account for the outer diameter of the flange cover.
Step 2:
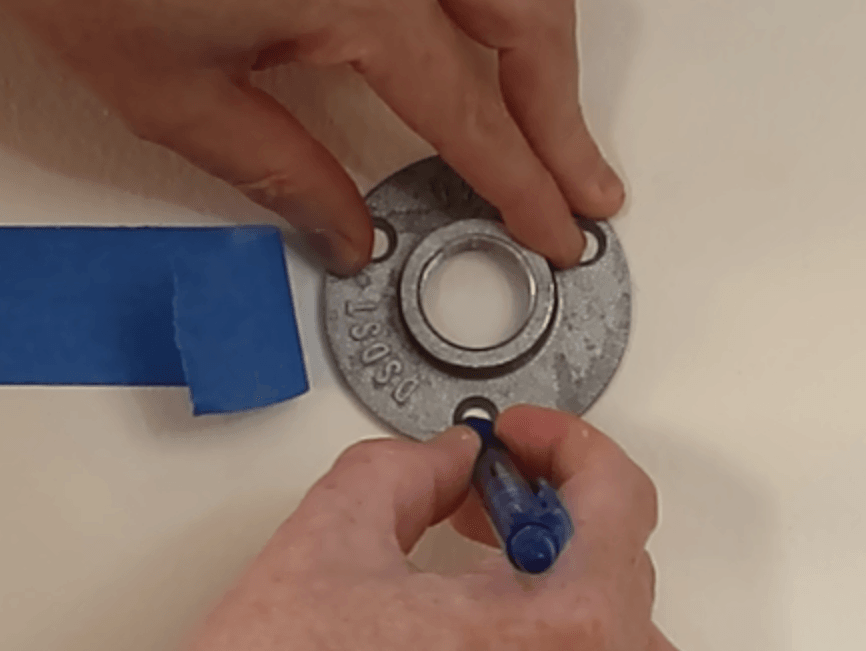
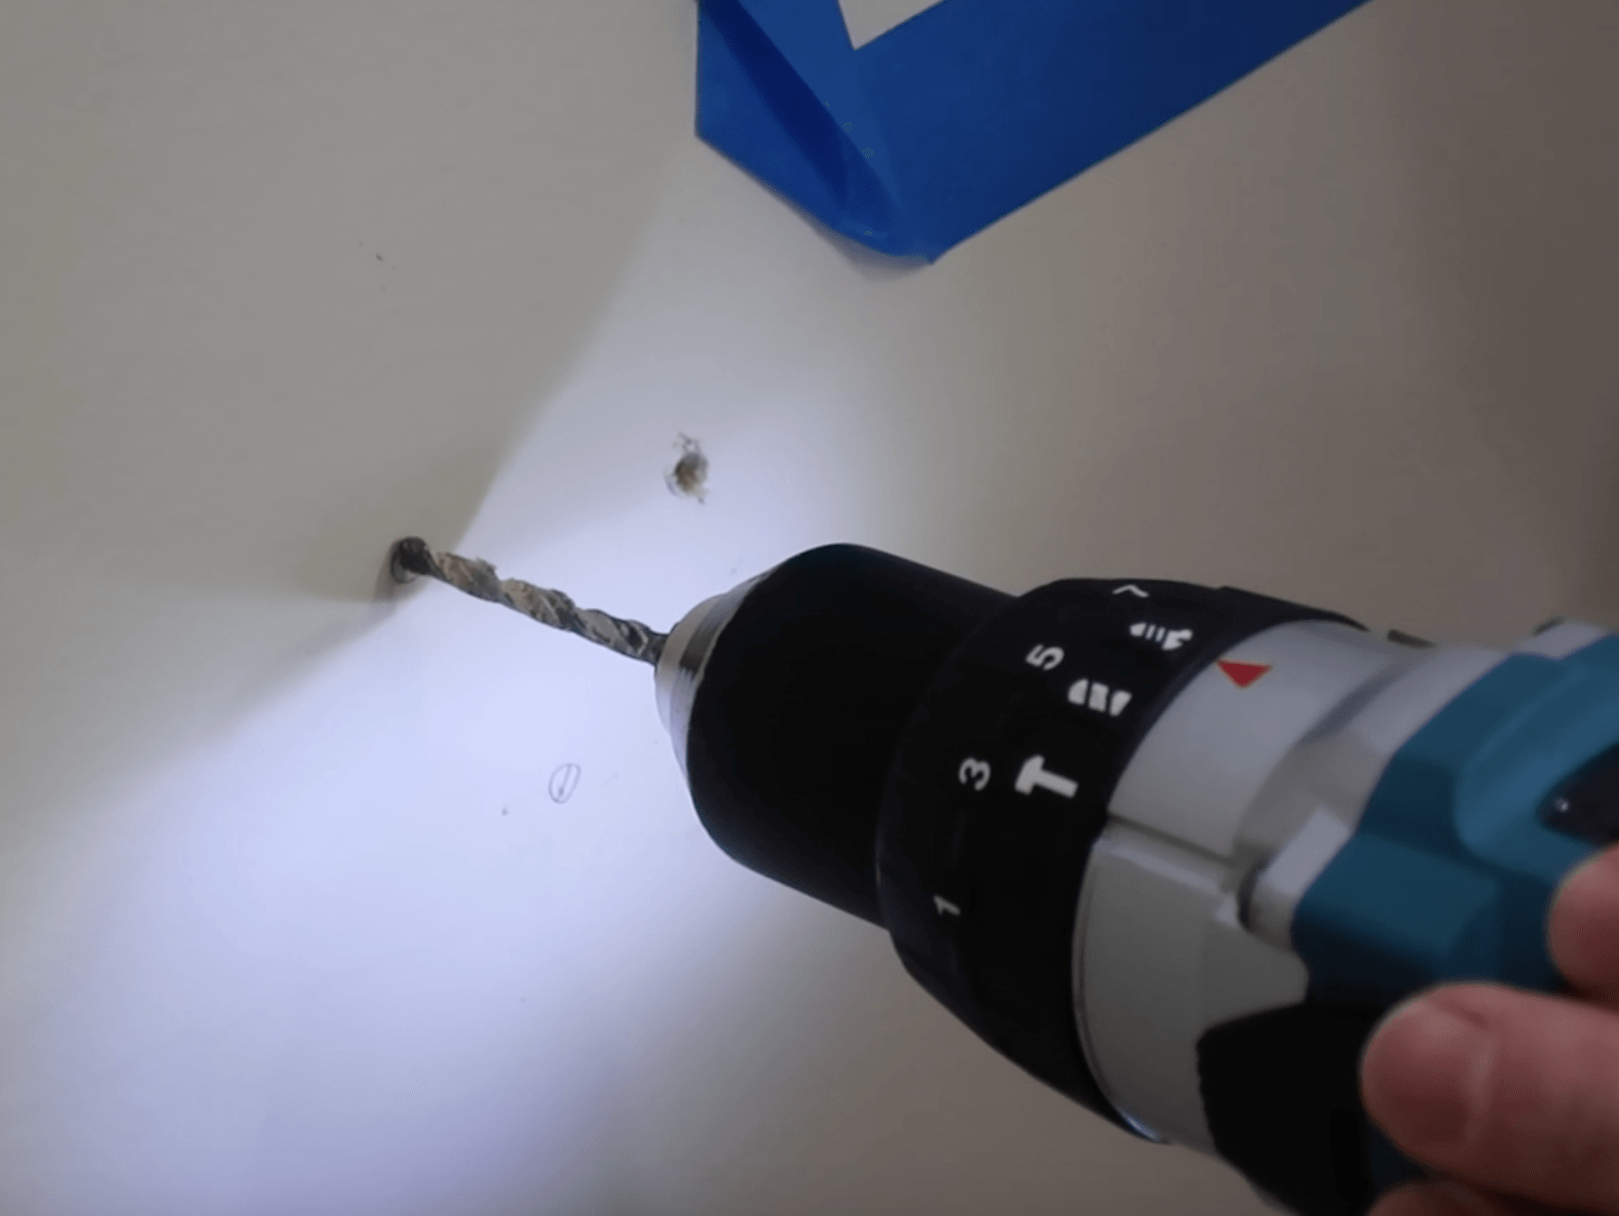
Place a flange on the wall where the end-bracket will be, mark and then drill the holes.
Use a 1/8" drill bit if drilling into a stud, or a 3/8" bit if using wall anchors.
Step 3:
Screw the flange to the wall.


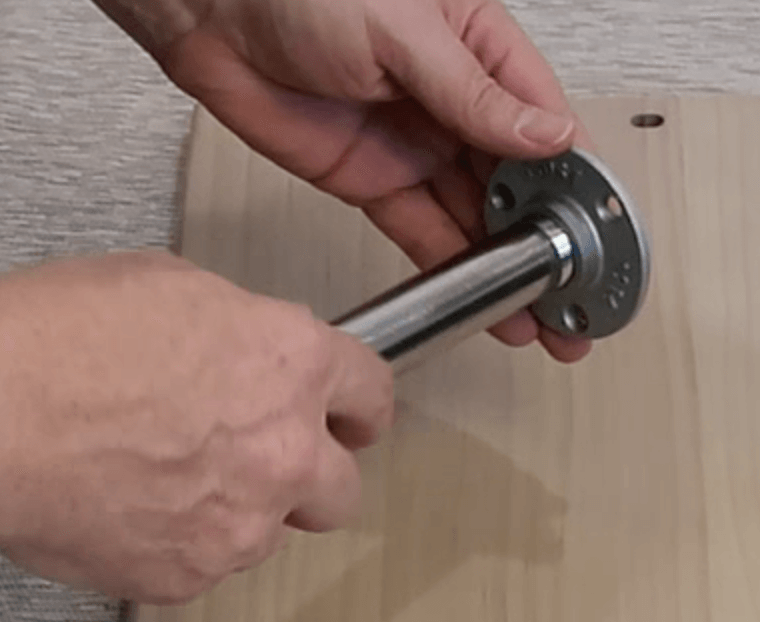
Step 4:
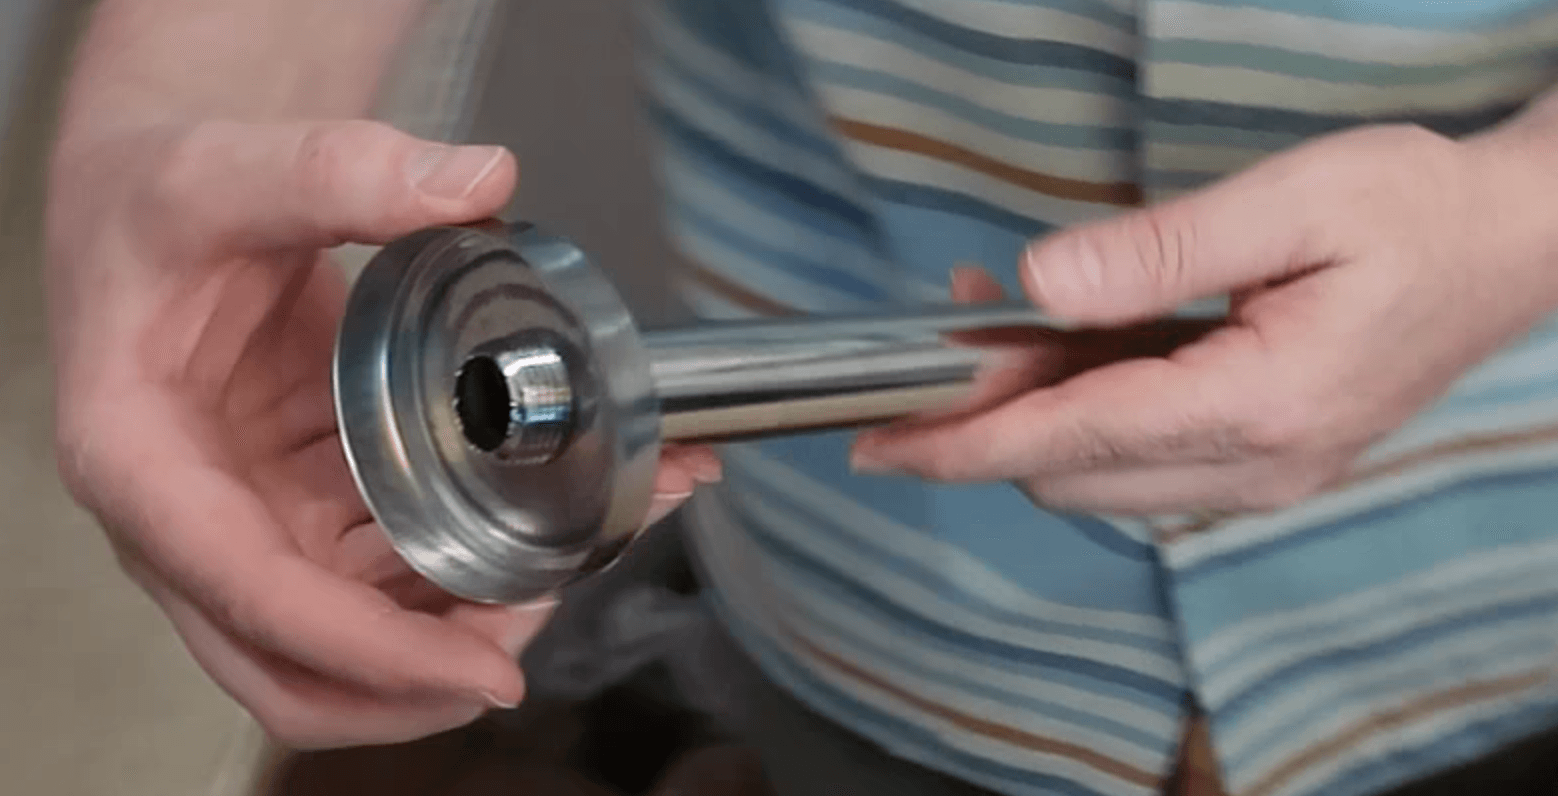
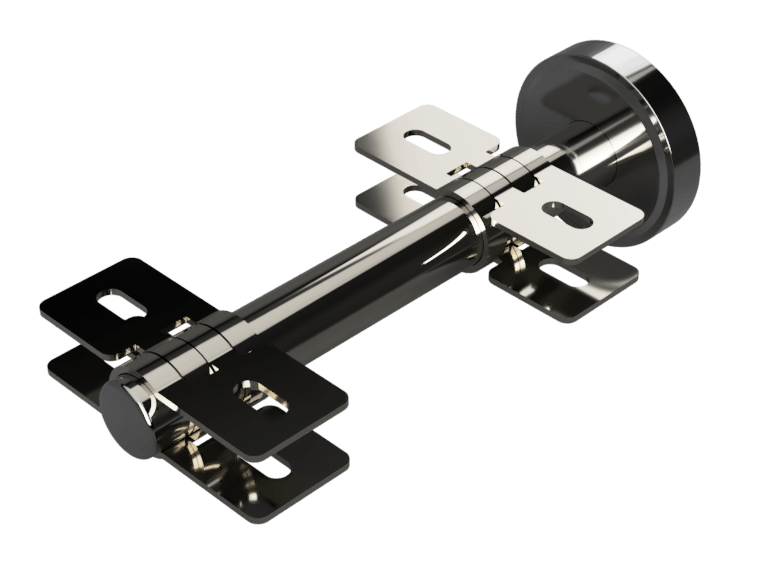
Insert the threaded end of the tube through the flange cover and screw the tube snugly into the flange on the wall.

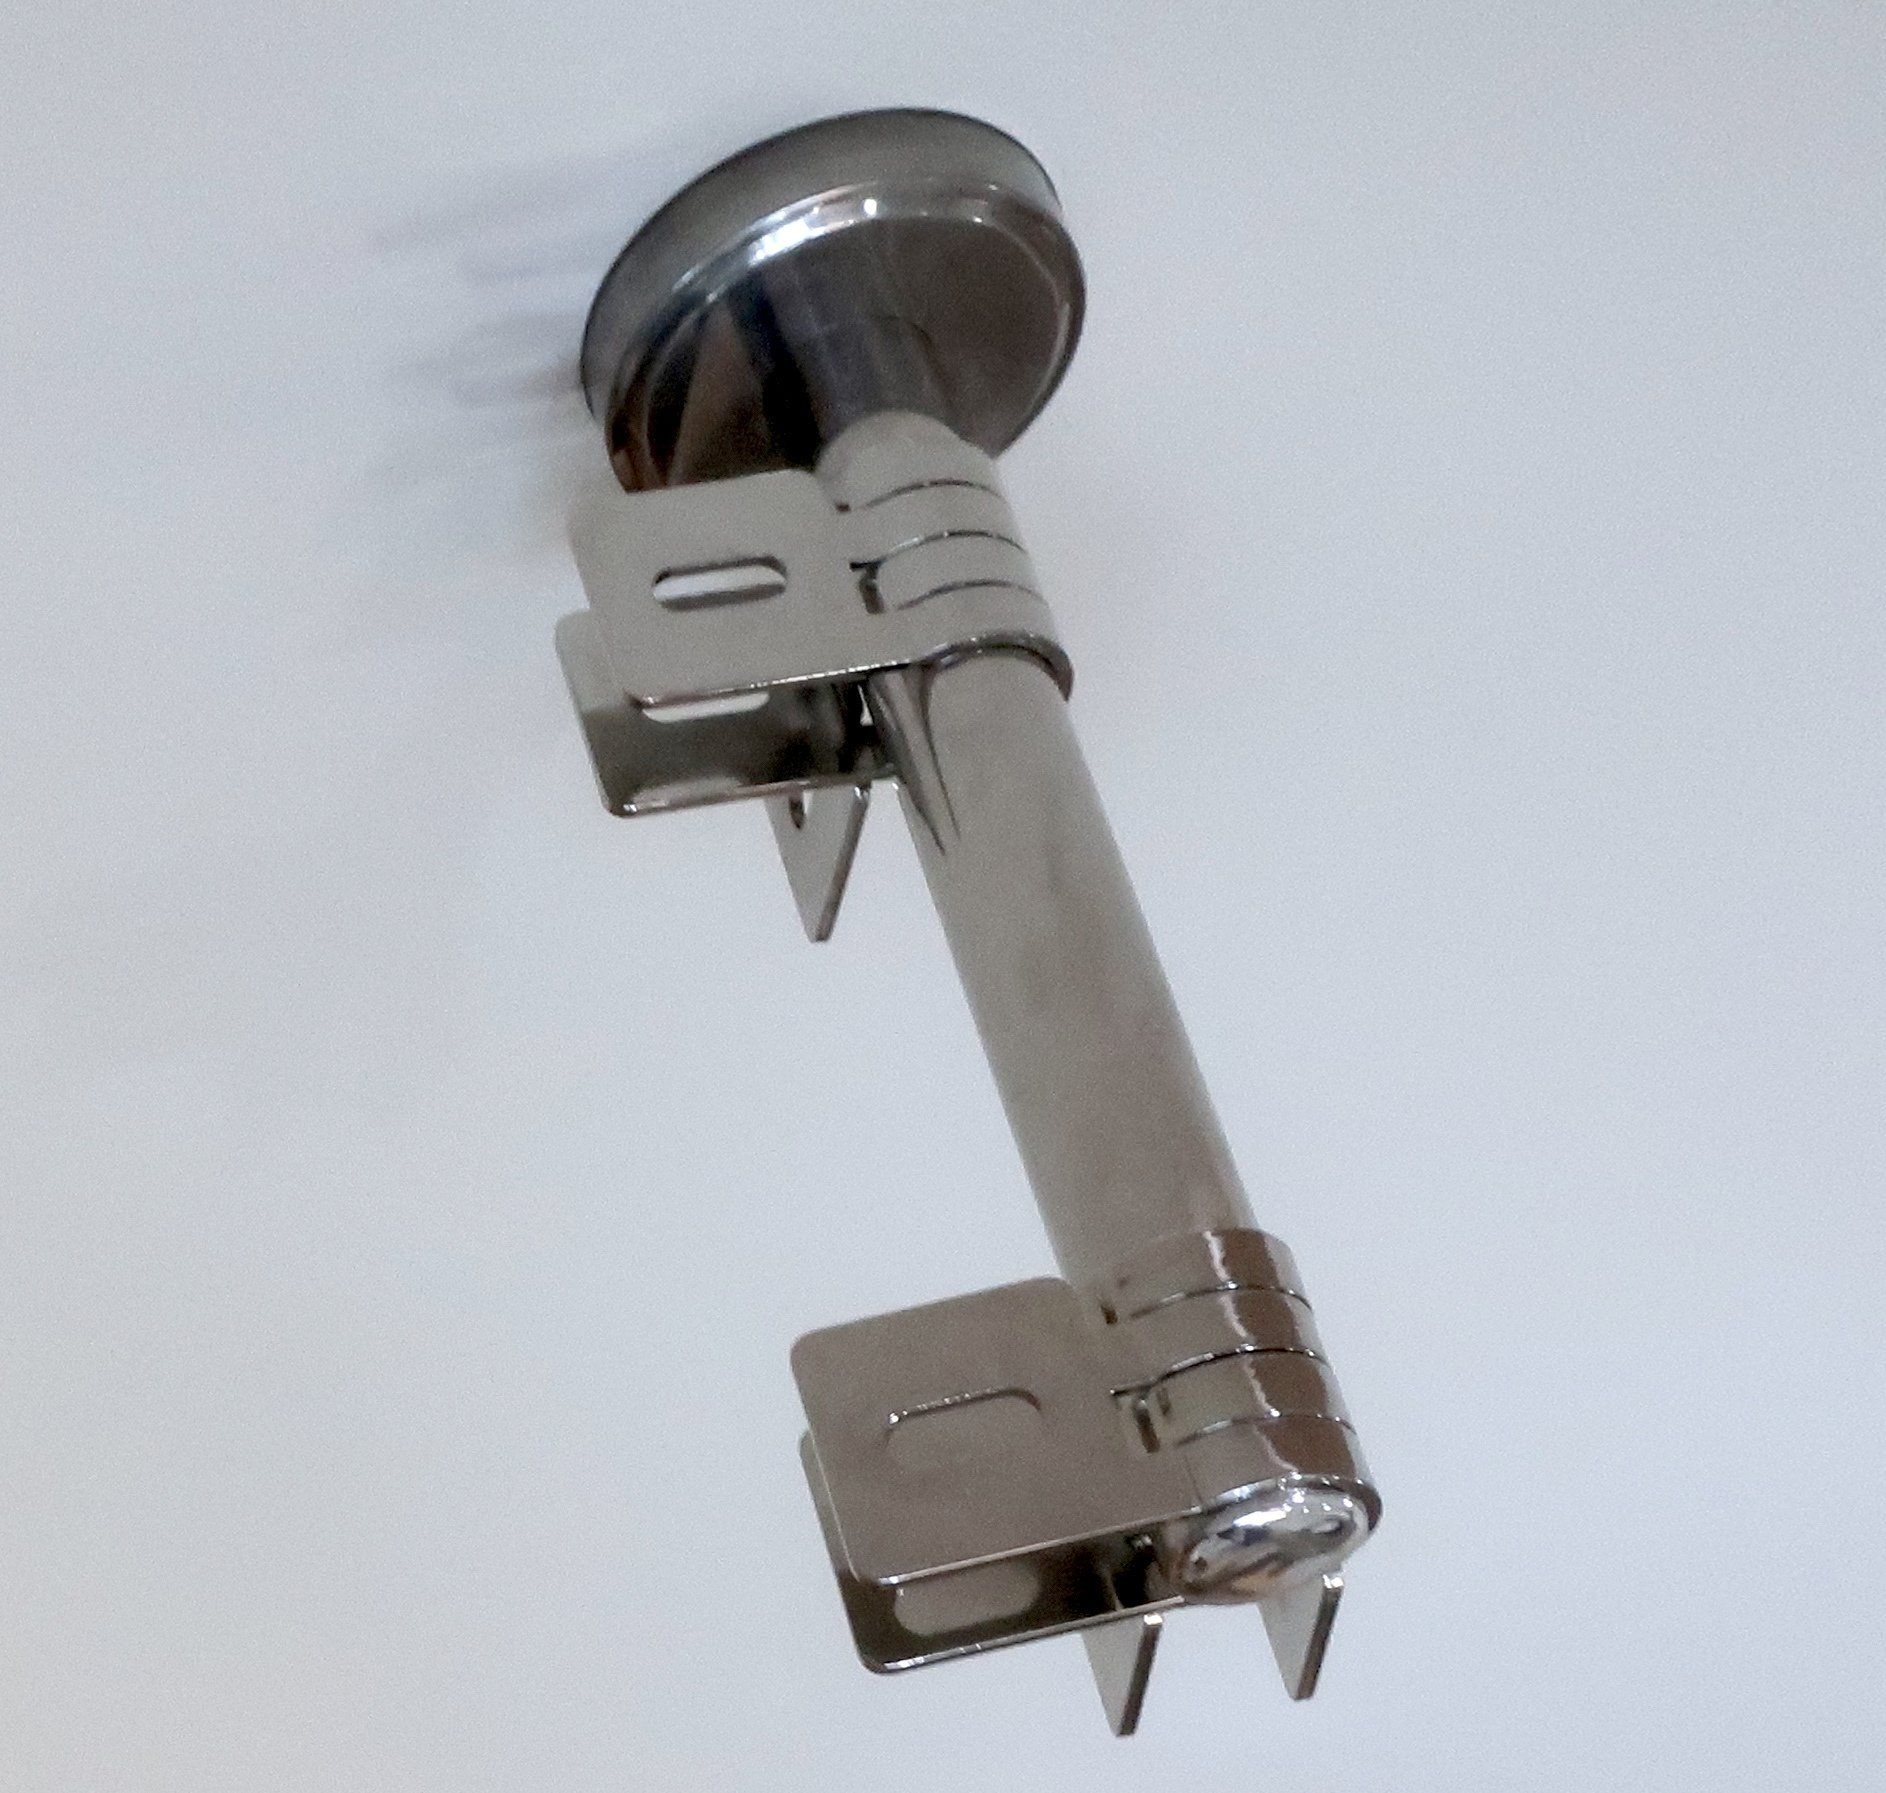
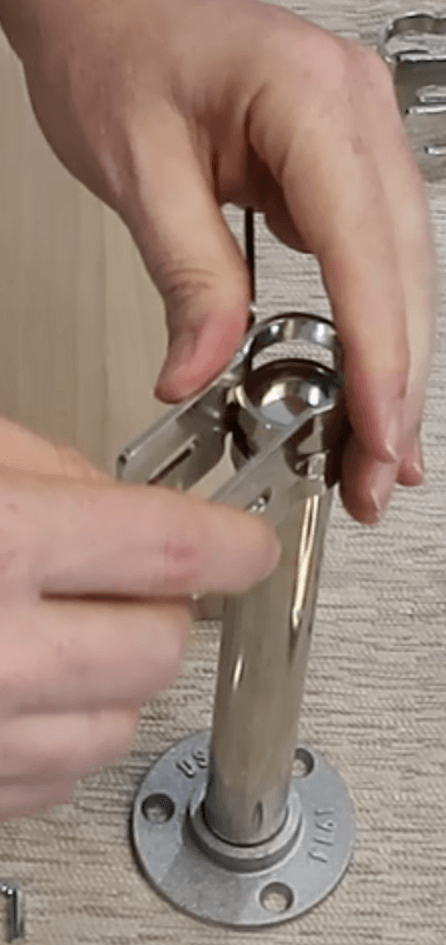
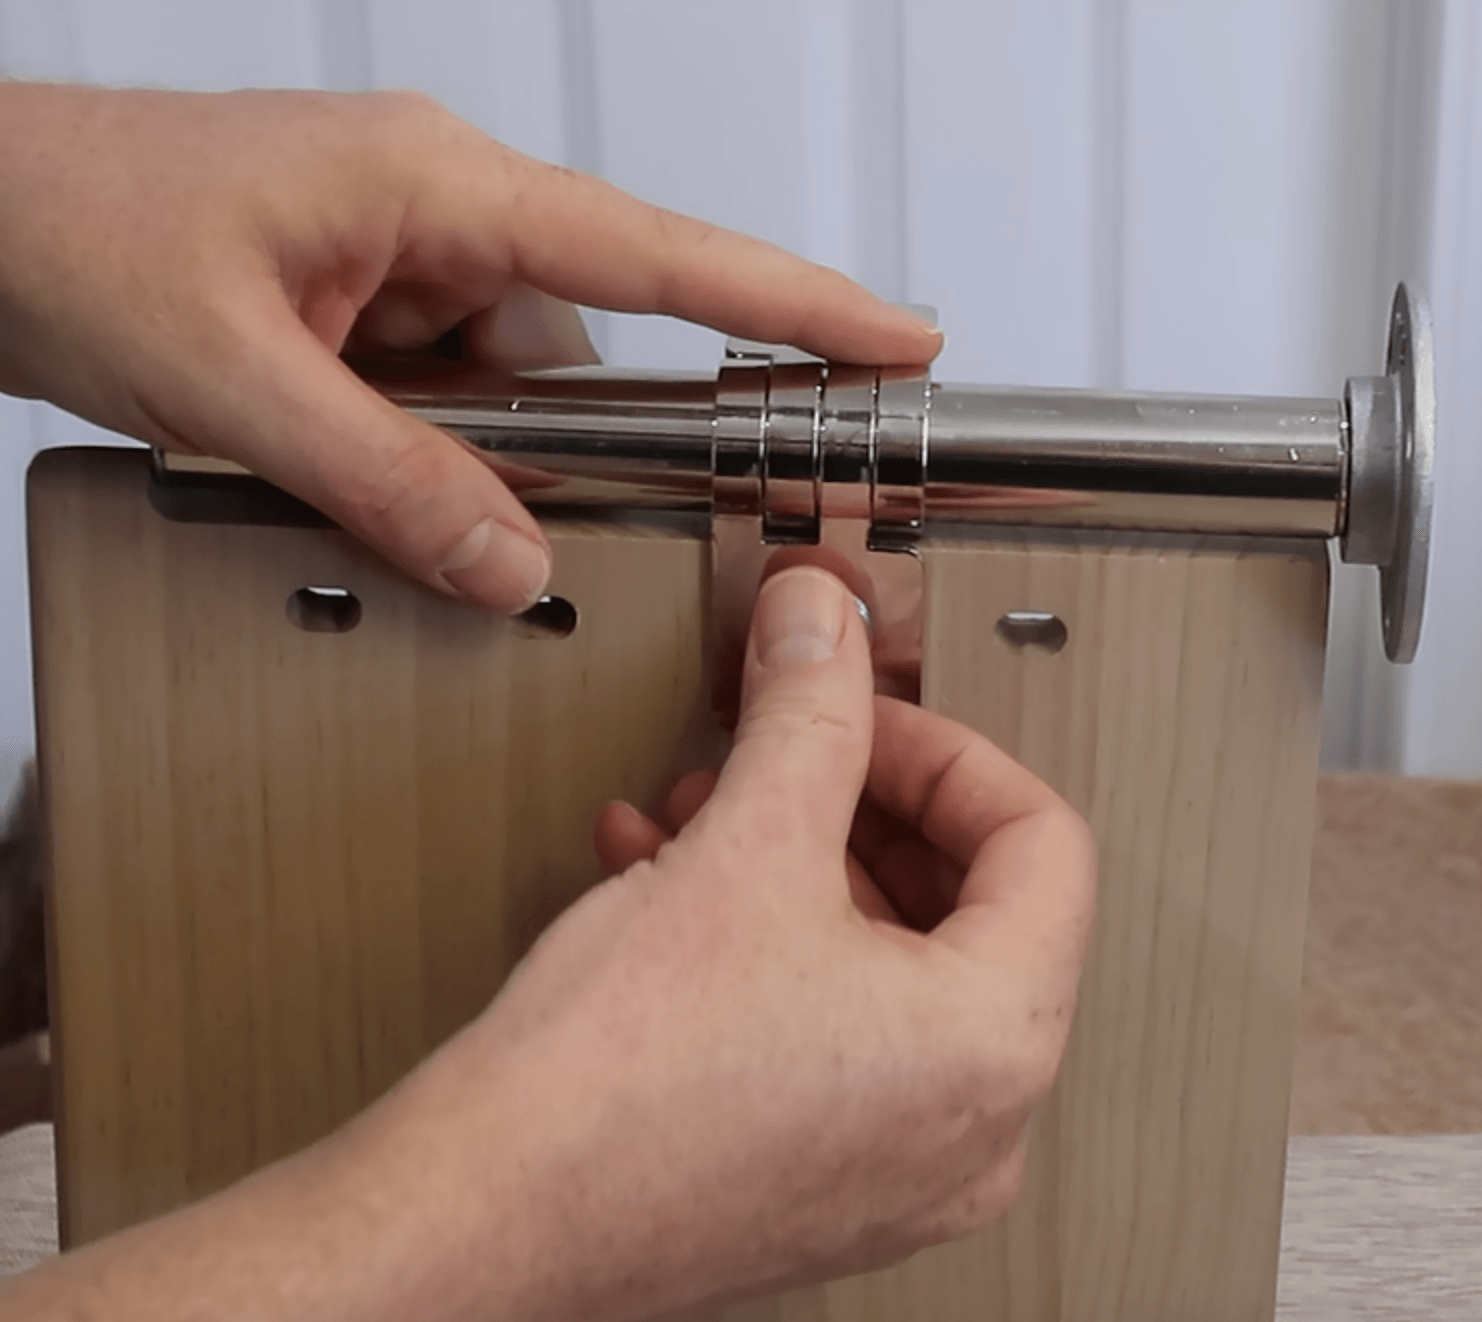
Step 5:
Slide two sets of interlaced U-clips onto the tube. You must temporarily
use interlaced sets of U-clips or your measurements will not be accurate.

MEASURING PLACEMENT OF THE NEXT BRACKET
In Steps 6 through 11, you will be attaching the next bracket to a shelf temporarily
in order to measure precisely where the next bracket will be affixed to on the wall.
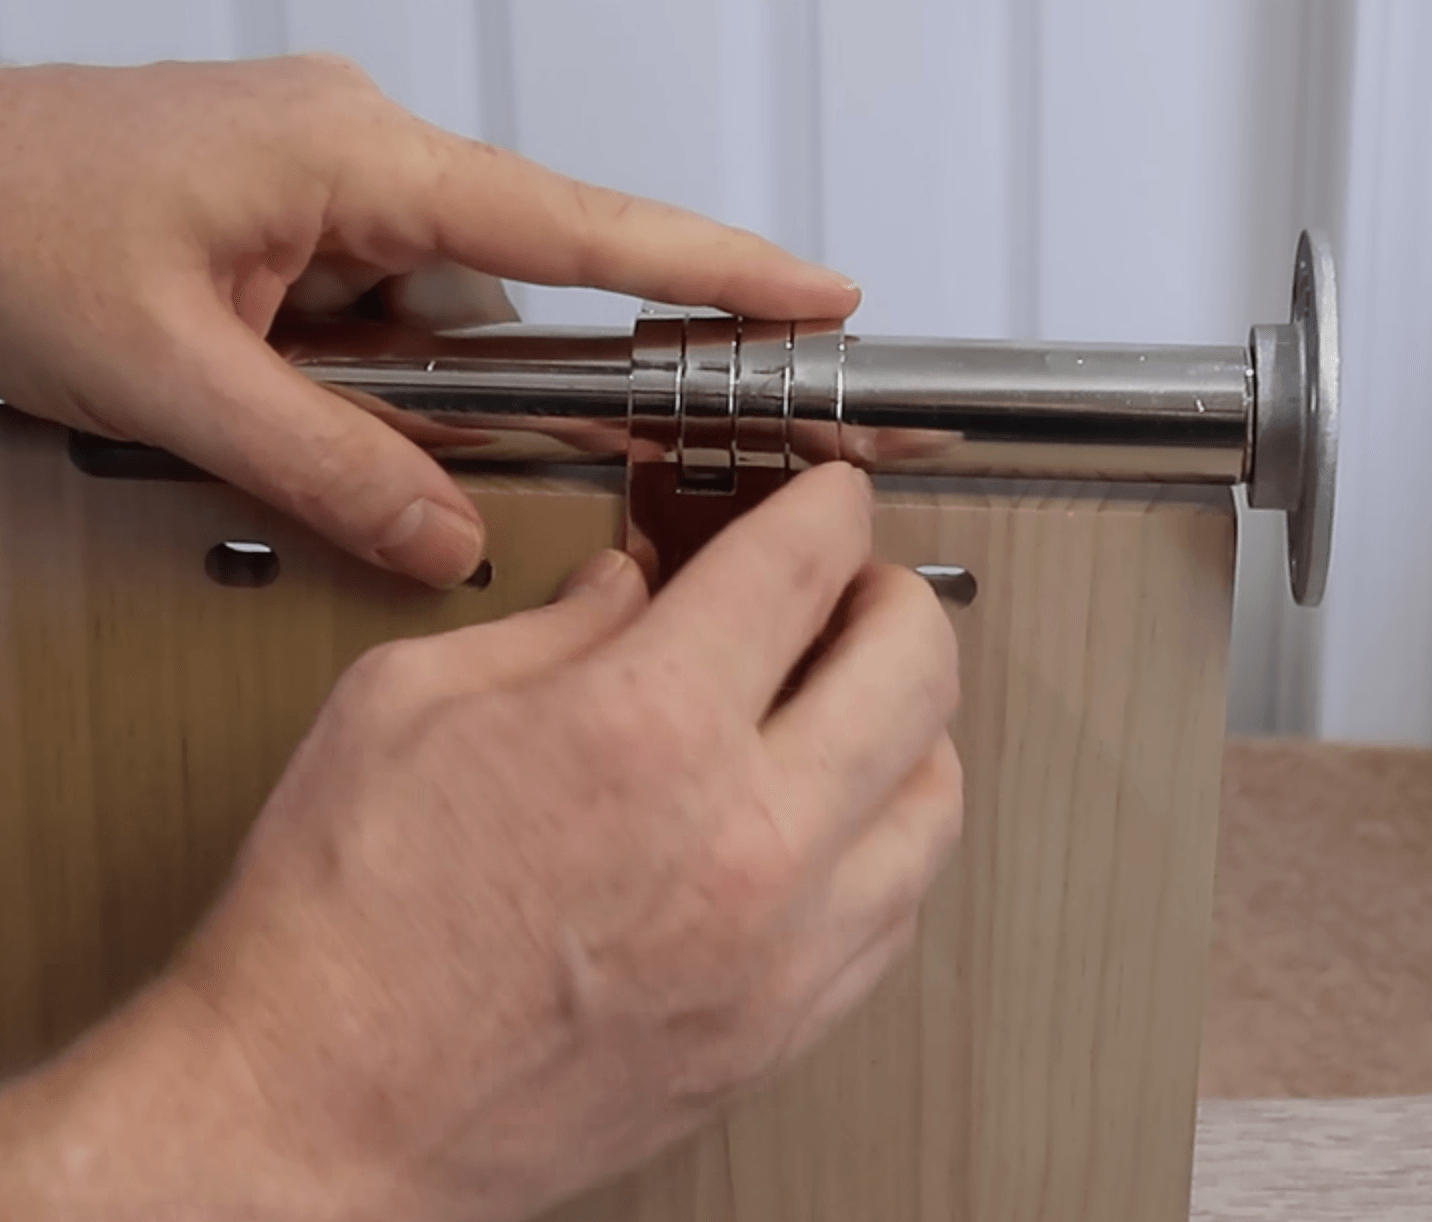
Step 6:
Screw the tube for this next bracket into another flange, and slide one set of interlaced U-clips onto the tube.
Step 7:
Attach the bracket loosely to a shelf with a barrel bolt and washers through the center shelf-hole closest to the flange. Note that there are two different size washers for each part of the barrel bolt. Tighten the barrel bolt just enough so the tube doesn't slide freely back and forth in the clip.

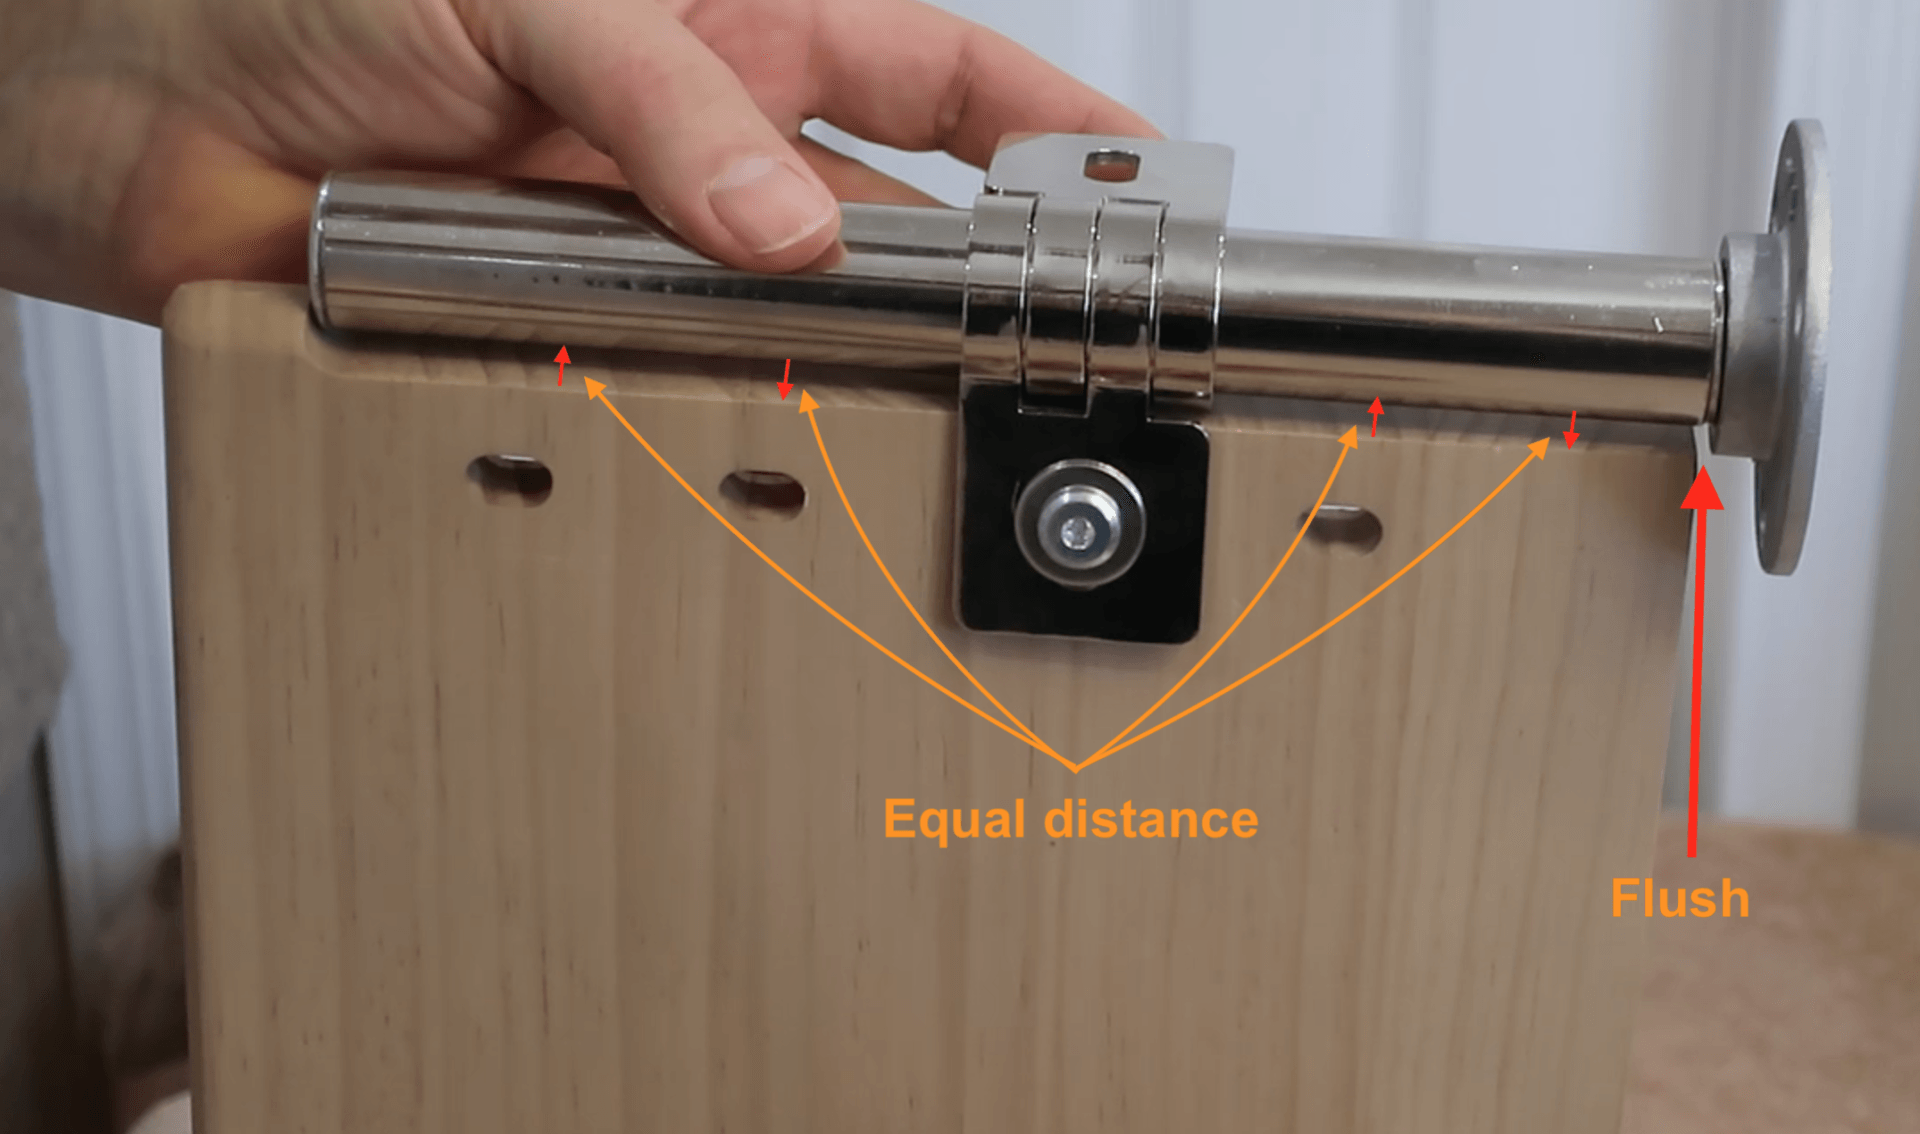
Step 8:
Align the top edge of the flange flush to the back edge of the shelf and set the tube parallel to the side edge of the shelf as shown. The alignment doesn’t have to be perfect; it will self-correct when you position it on the wall in the next steps.
Cover the back of the flange with tape to protect the wall from being scratched.
Step 9:
Using two barrel bolts with washers, loosely attach the other end of the shelf to the U-clips on the first bracket on the wall using the outer holes on the shelf. Don’t overtighten — the shelf should swing freely.
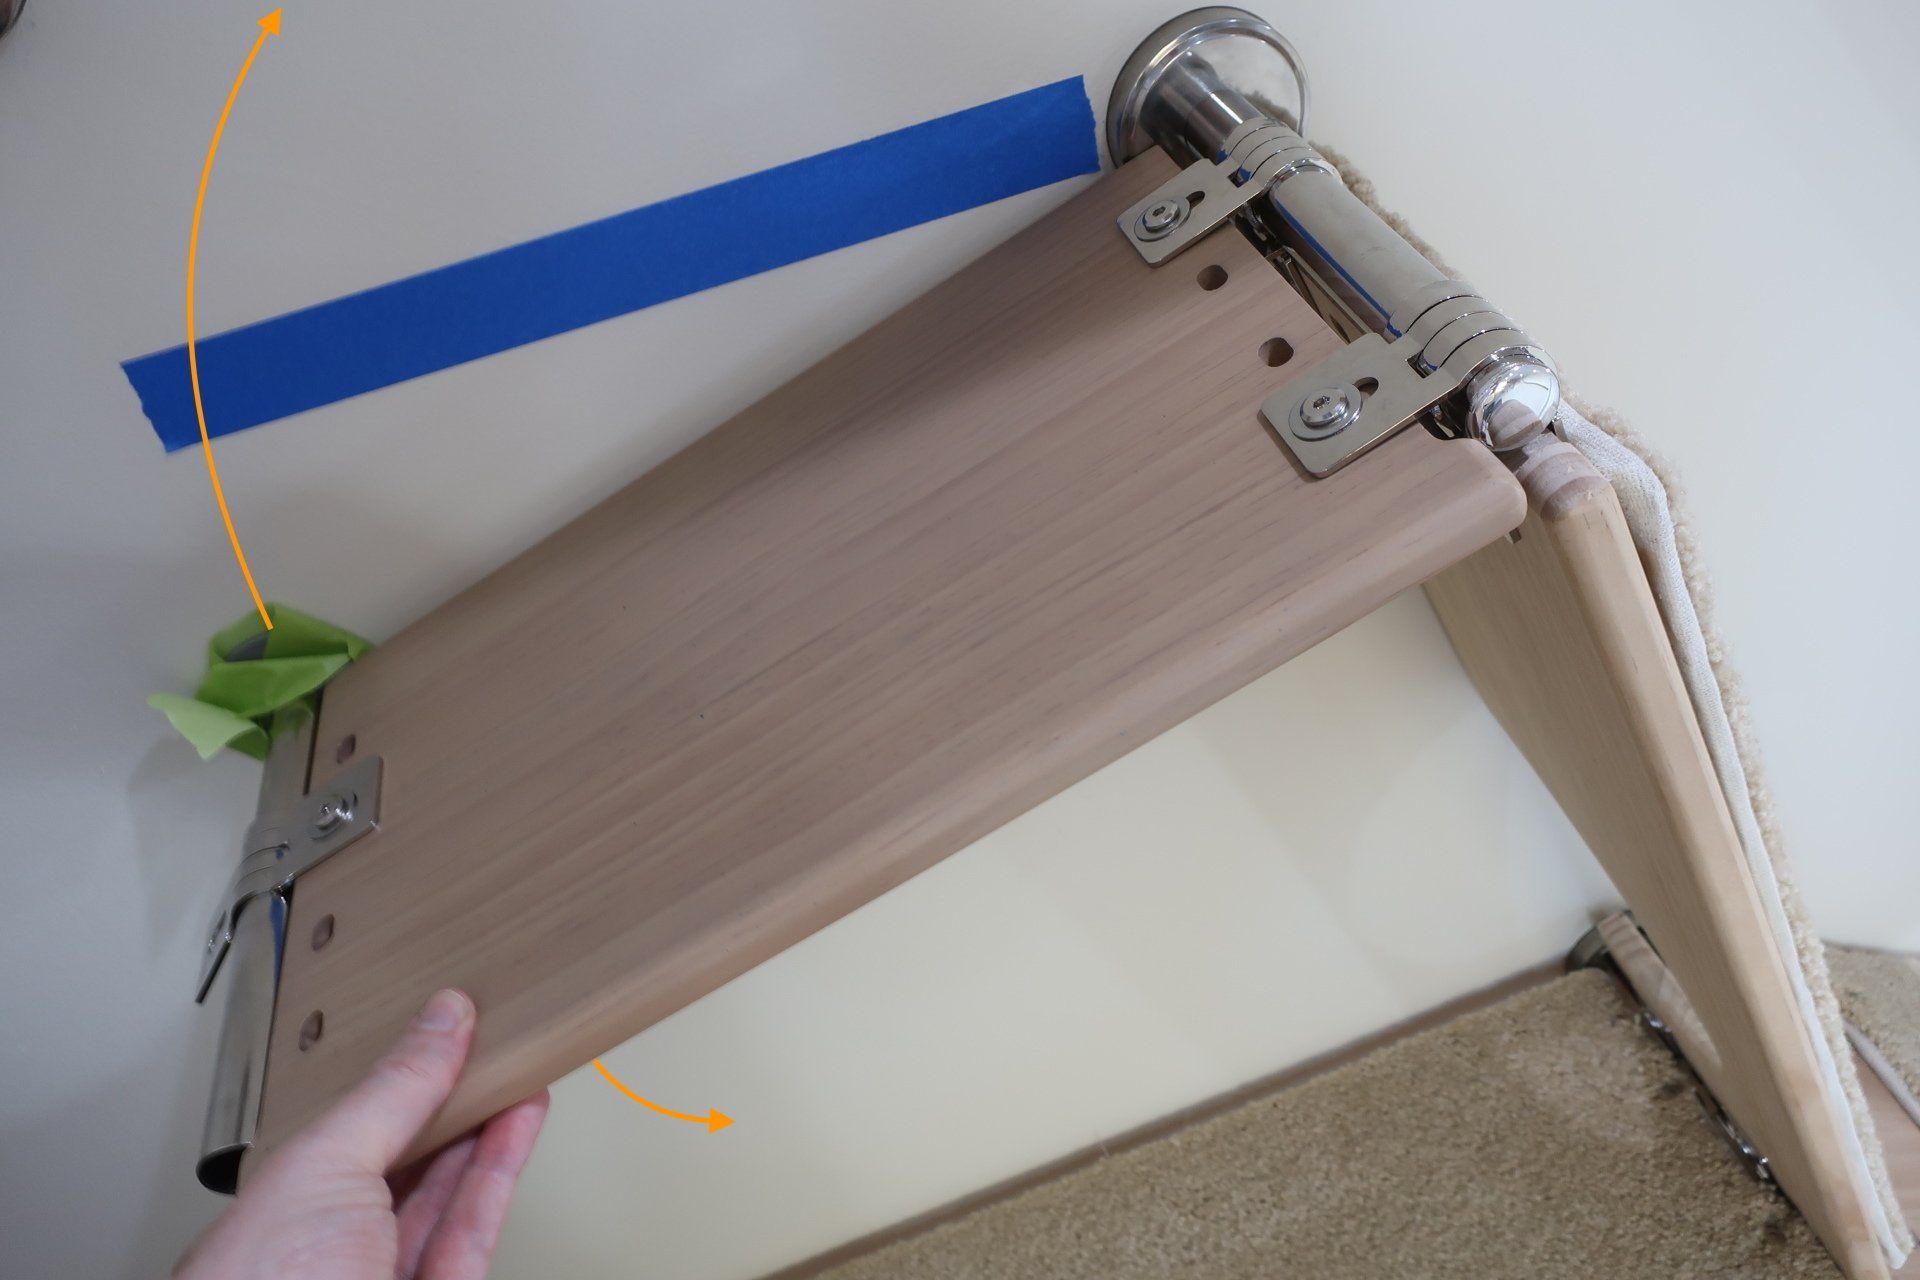
Step 10:
Swing the shelf to the desired position.

Step 11:
Once positioned correctly, hold the shelf snugly between the brackets and mark at least two of the flange holes on the wall.
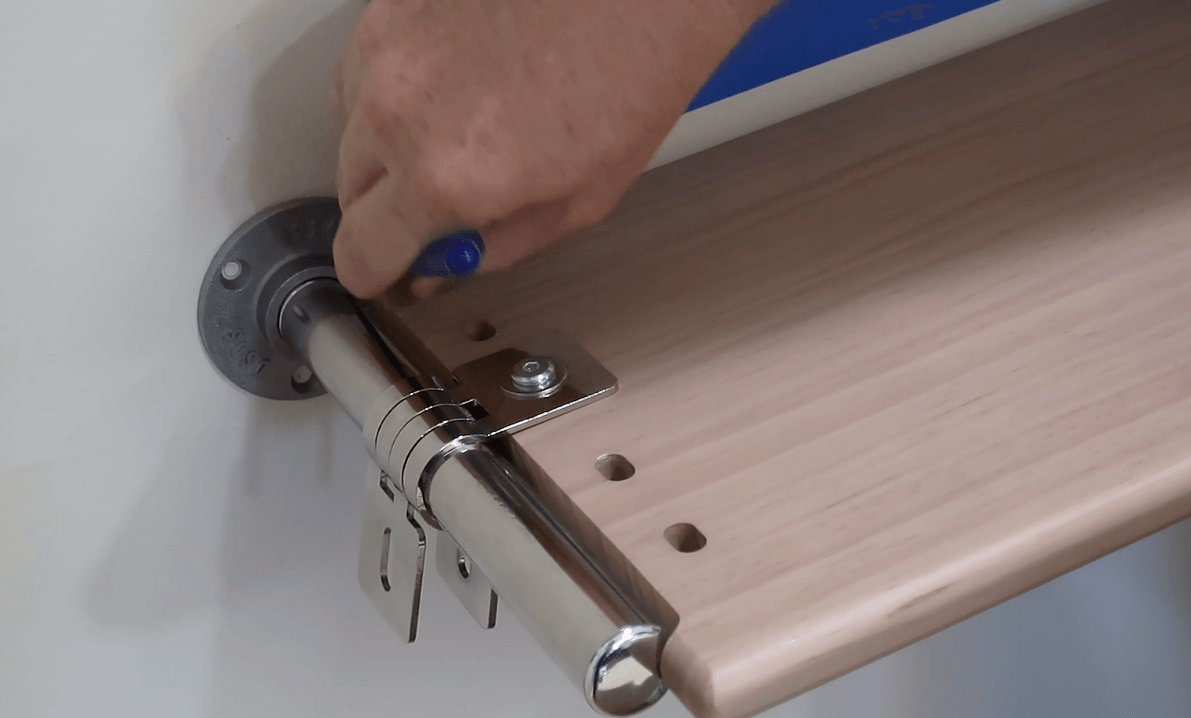
Step 12:
Remove the unmounted bracket from the shelf.
Step 13:
Use a flange to mark the third hole by aligning it with the other two marks.
INSTALLING THE NEXT BRACKET
Step 14:
Drill the holes and install the next flange and tube the same way you installed the first one under steps 3 and 4 above.
Step 15a:
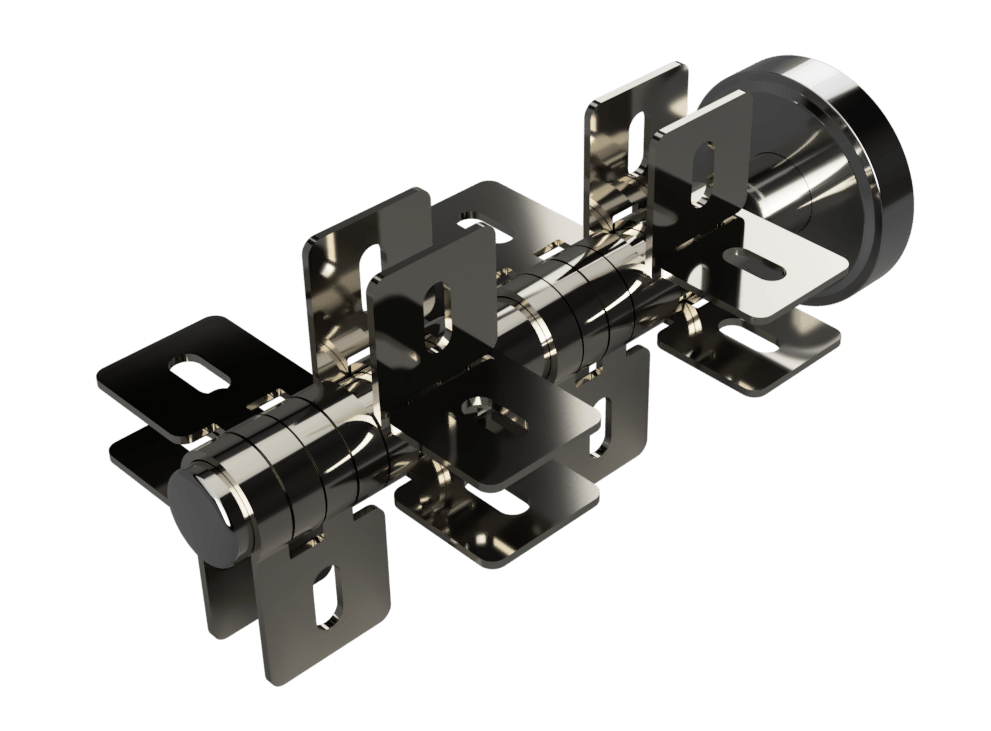
For an end-bracket, slide two single, separated U-clips onto the tube.

Step 15b:
For a double-bracket, slide two sets of interlaced U-clips onto the tube.
Step 15c:
For a triple-bracket, slide two additional single U-clips onto the tube between or alternating with the two interlaced pairs of U-clips.

Step 15d:
For a quadruple-bracket, slide a second pair of interlaced U-clips onto the tube.
Step 16:
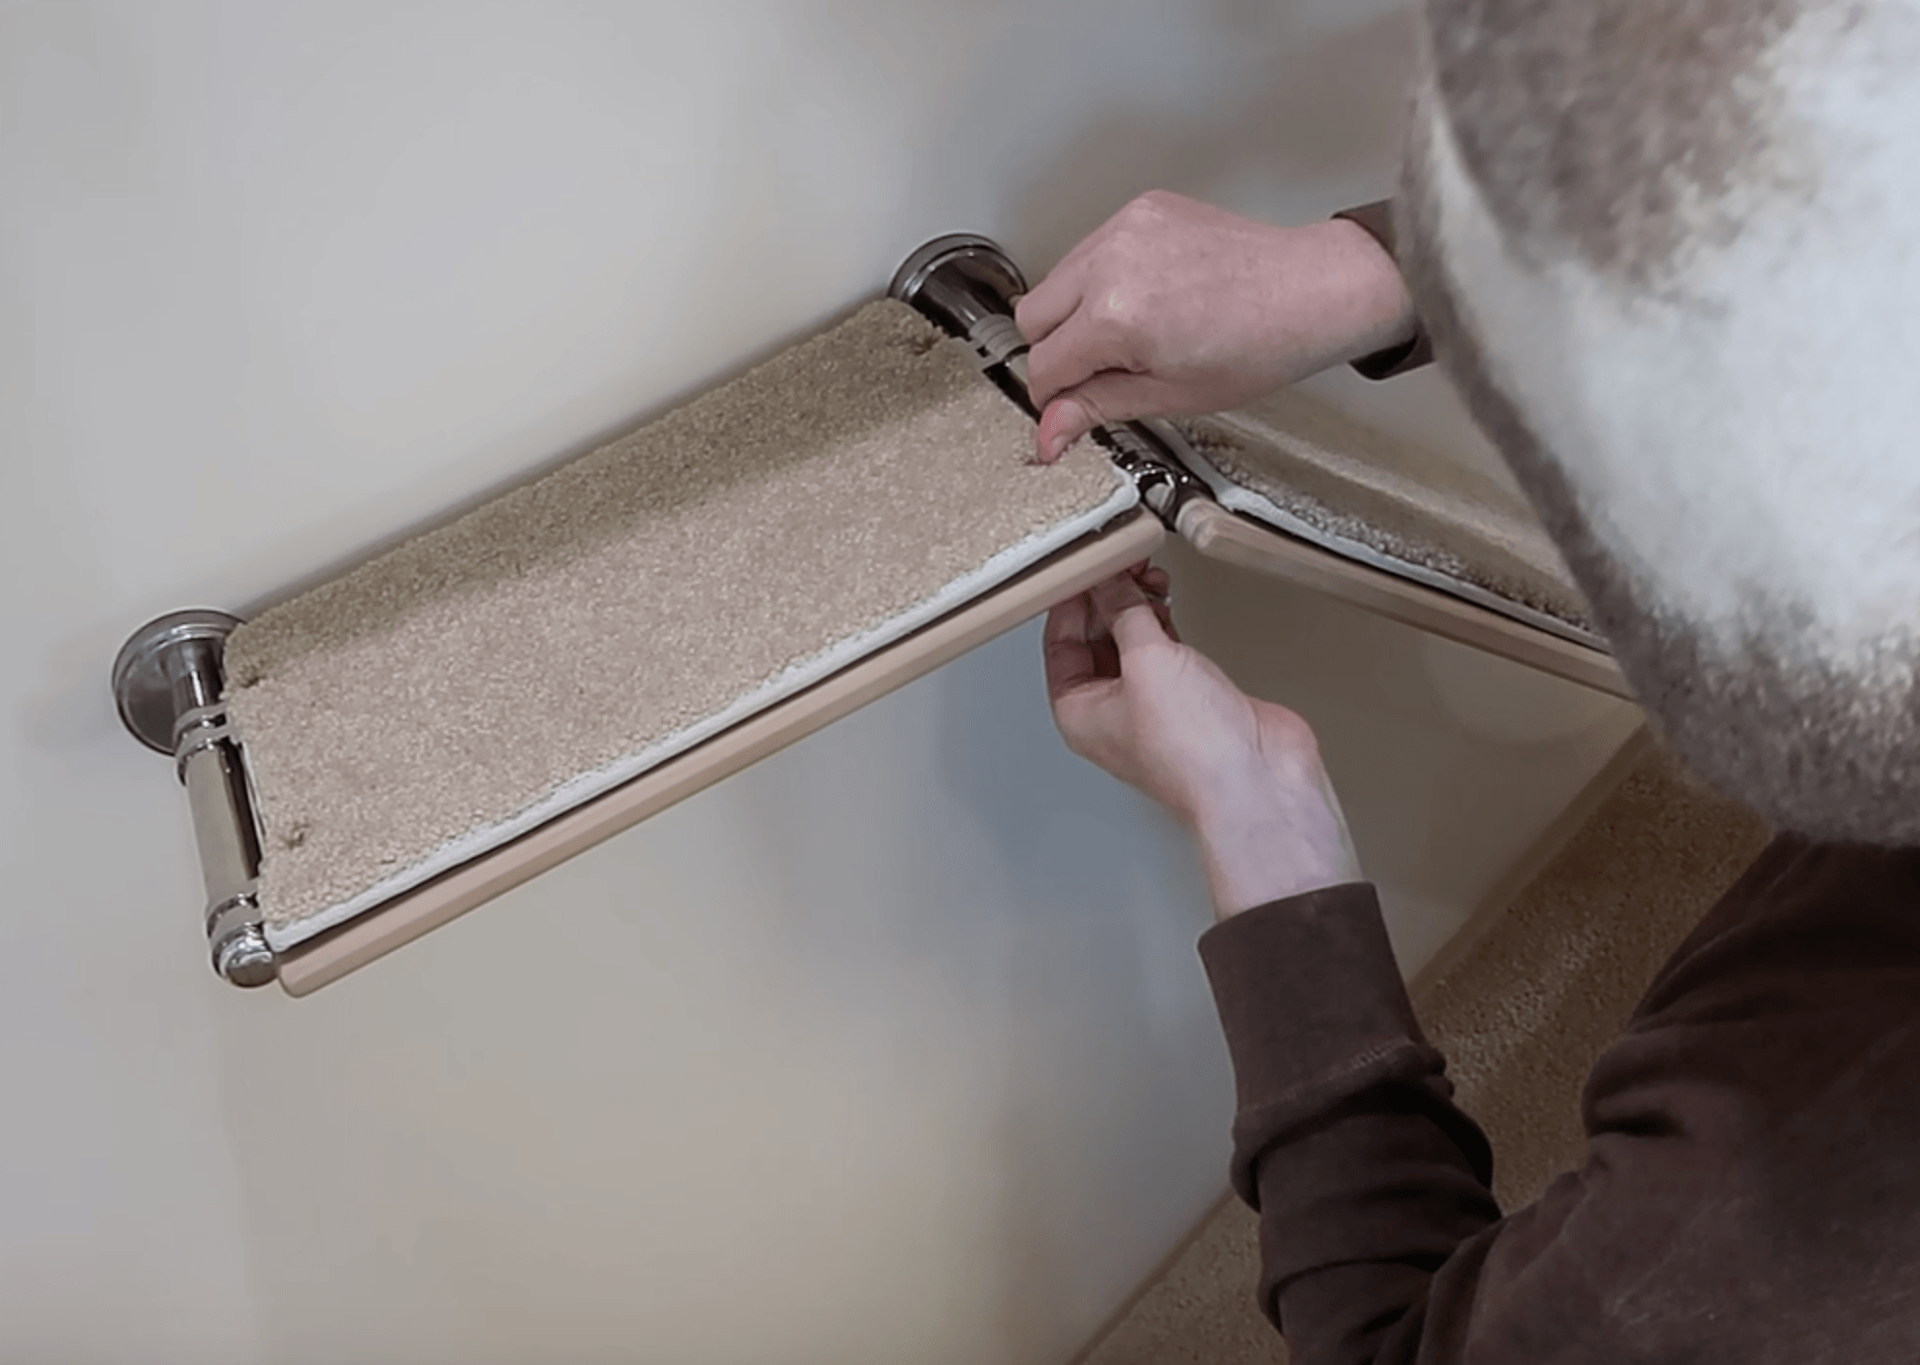
Insert the shelf into the U-clips of both brackets.

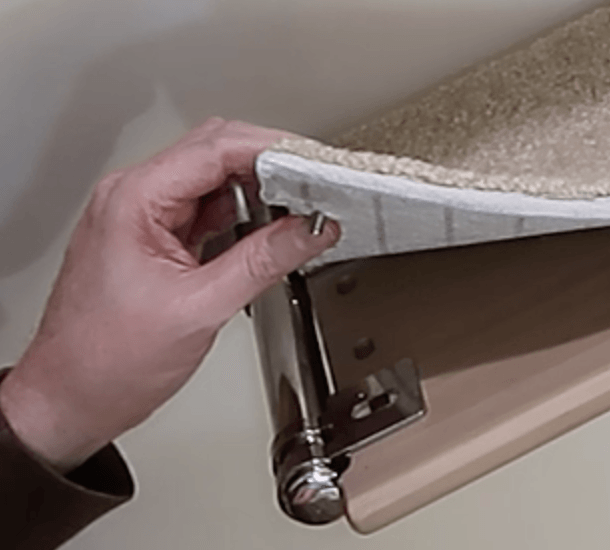

Step 18:
Install the barrel bolts loosely at first, position the shelf so that the back of the shelf fits snugly against the flange covers.
Only tighten the bolts all the way down once all of the shelves in a given configuration are installed.
INSTALLING ADDITIONAL BRACKETS
For each additional bracket and shelf, repeat steps 6–18 above.